
When a heart atta:ck occurs, every second counts. What many people don’t know is that 70% of heart atta:cks happen when the person is alone , and more than 90% don’t reach the hospital in time. The heart can fail without war:ning, but if you know what to do in the first few moments, your chances of survival increase significantly .
Science and experts agree on one thing: you don’t need medication or equipment , just to stay calm and use simple emergency techniques. These maneuvers can keep your heart pumping while you wait for help or head to safety.
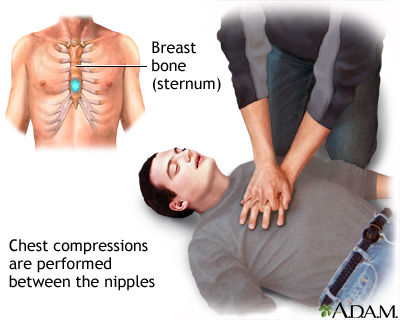
Below you will learn three proven actions that could help you survive a heart attack when no one is around. You can also see these techniques in the following video from the Healthy and Positive channel:
When the heart starts beating irregularly, it’s common for a person to feel dizzy, weak, have cold sweats, or experience intense pressure in the chest. At that moment, a simple technique can provide valuable seconds: forceful, repetitive coughing .
How to do it?
- Take a deep breath .
- Then cough forcefully, as if you were trying to expel something trapped in your lungs.
- Repeat every 2 seconds, keeping the rhythm.
This type of cough increases pressure within the chest and helps keep blood flowing to the brain. It’s not a cure, but it can maintain circulation long enough to call for help or get to safety.
2. Apply pressure to the correct point on the chest
In some cases, when the heart begins to fail, a quick mechanical stimulus can help restart an irregular heartbeat. This maneuver is known to specialists as an “emergency stroke.”
How to do it?
- With your hand closed, locate the center of the chest, just above the sternum .
- Give a firm, non-violent blow , but strong enough to generate a stimulus.
- It should only be done once and as an extreme measure , when you experience symptoms of an impending cardiac arrest (loss of strength, blurred vision, difficulty breathing).
This blow can help the heart regain a more stable rhythm while you manage to get professional assistance.
3. Stimulate the emergence point in the hand
There is a point frequently used in Eastern first aid techniques that can help you maintain consciousness for a few crucial seconds . It is located on the hand, between the thumb and forefinger.
How to activate it:
- With your other hand, press firmly on the fleshy area between your thumb and index finger.
- Maintain firm pressure for several seconds and repeat if necessary.
- This stimulation helps activate the nervous system and keep you alert, especially if you start to feel faint.
- It does not replace any medical care, but it can give you the time you need to ask for help

Call an emergency service immediately if you can.
- If you feel you are going to lose consciousness, get into a safe position.
- Use these techniques only as support until professional help arrives.
- Don’t drive if you think you’re having a heart attack: it could be fatal.


 Sudden Severe Headache
 Dizziness or Loss of Balance

 Weakness or Numbness on One Side
 Facial Drooping
 Confusion or Speech Difficulty
 Persistent Fatigue
 Nausea or Vomiting
 Neck Pain or Stiffness


 Modern Farming & Refrigeration


